Alek
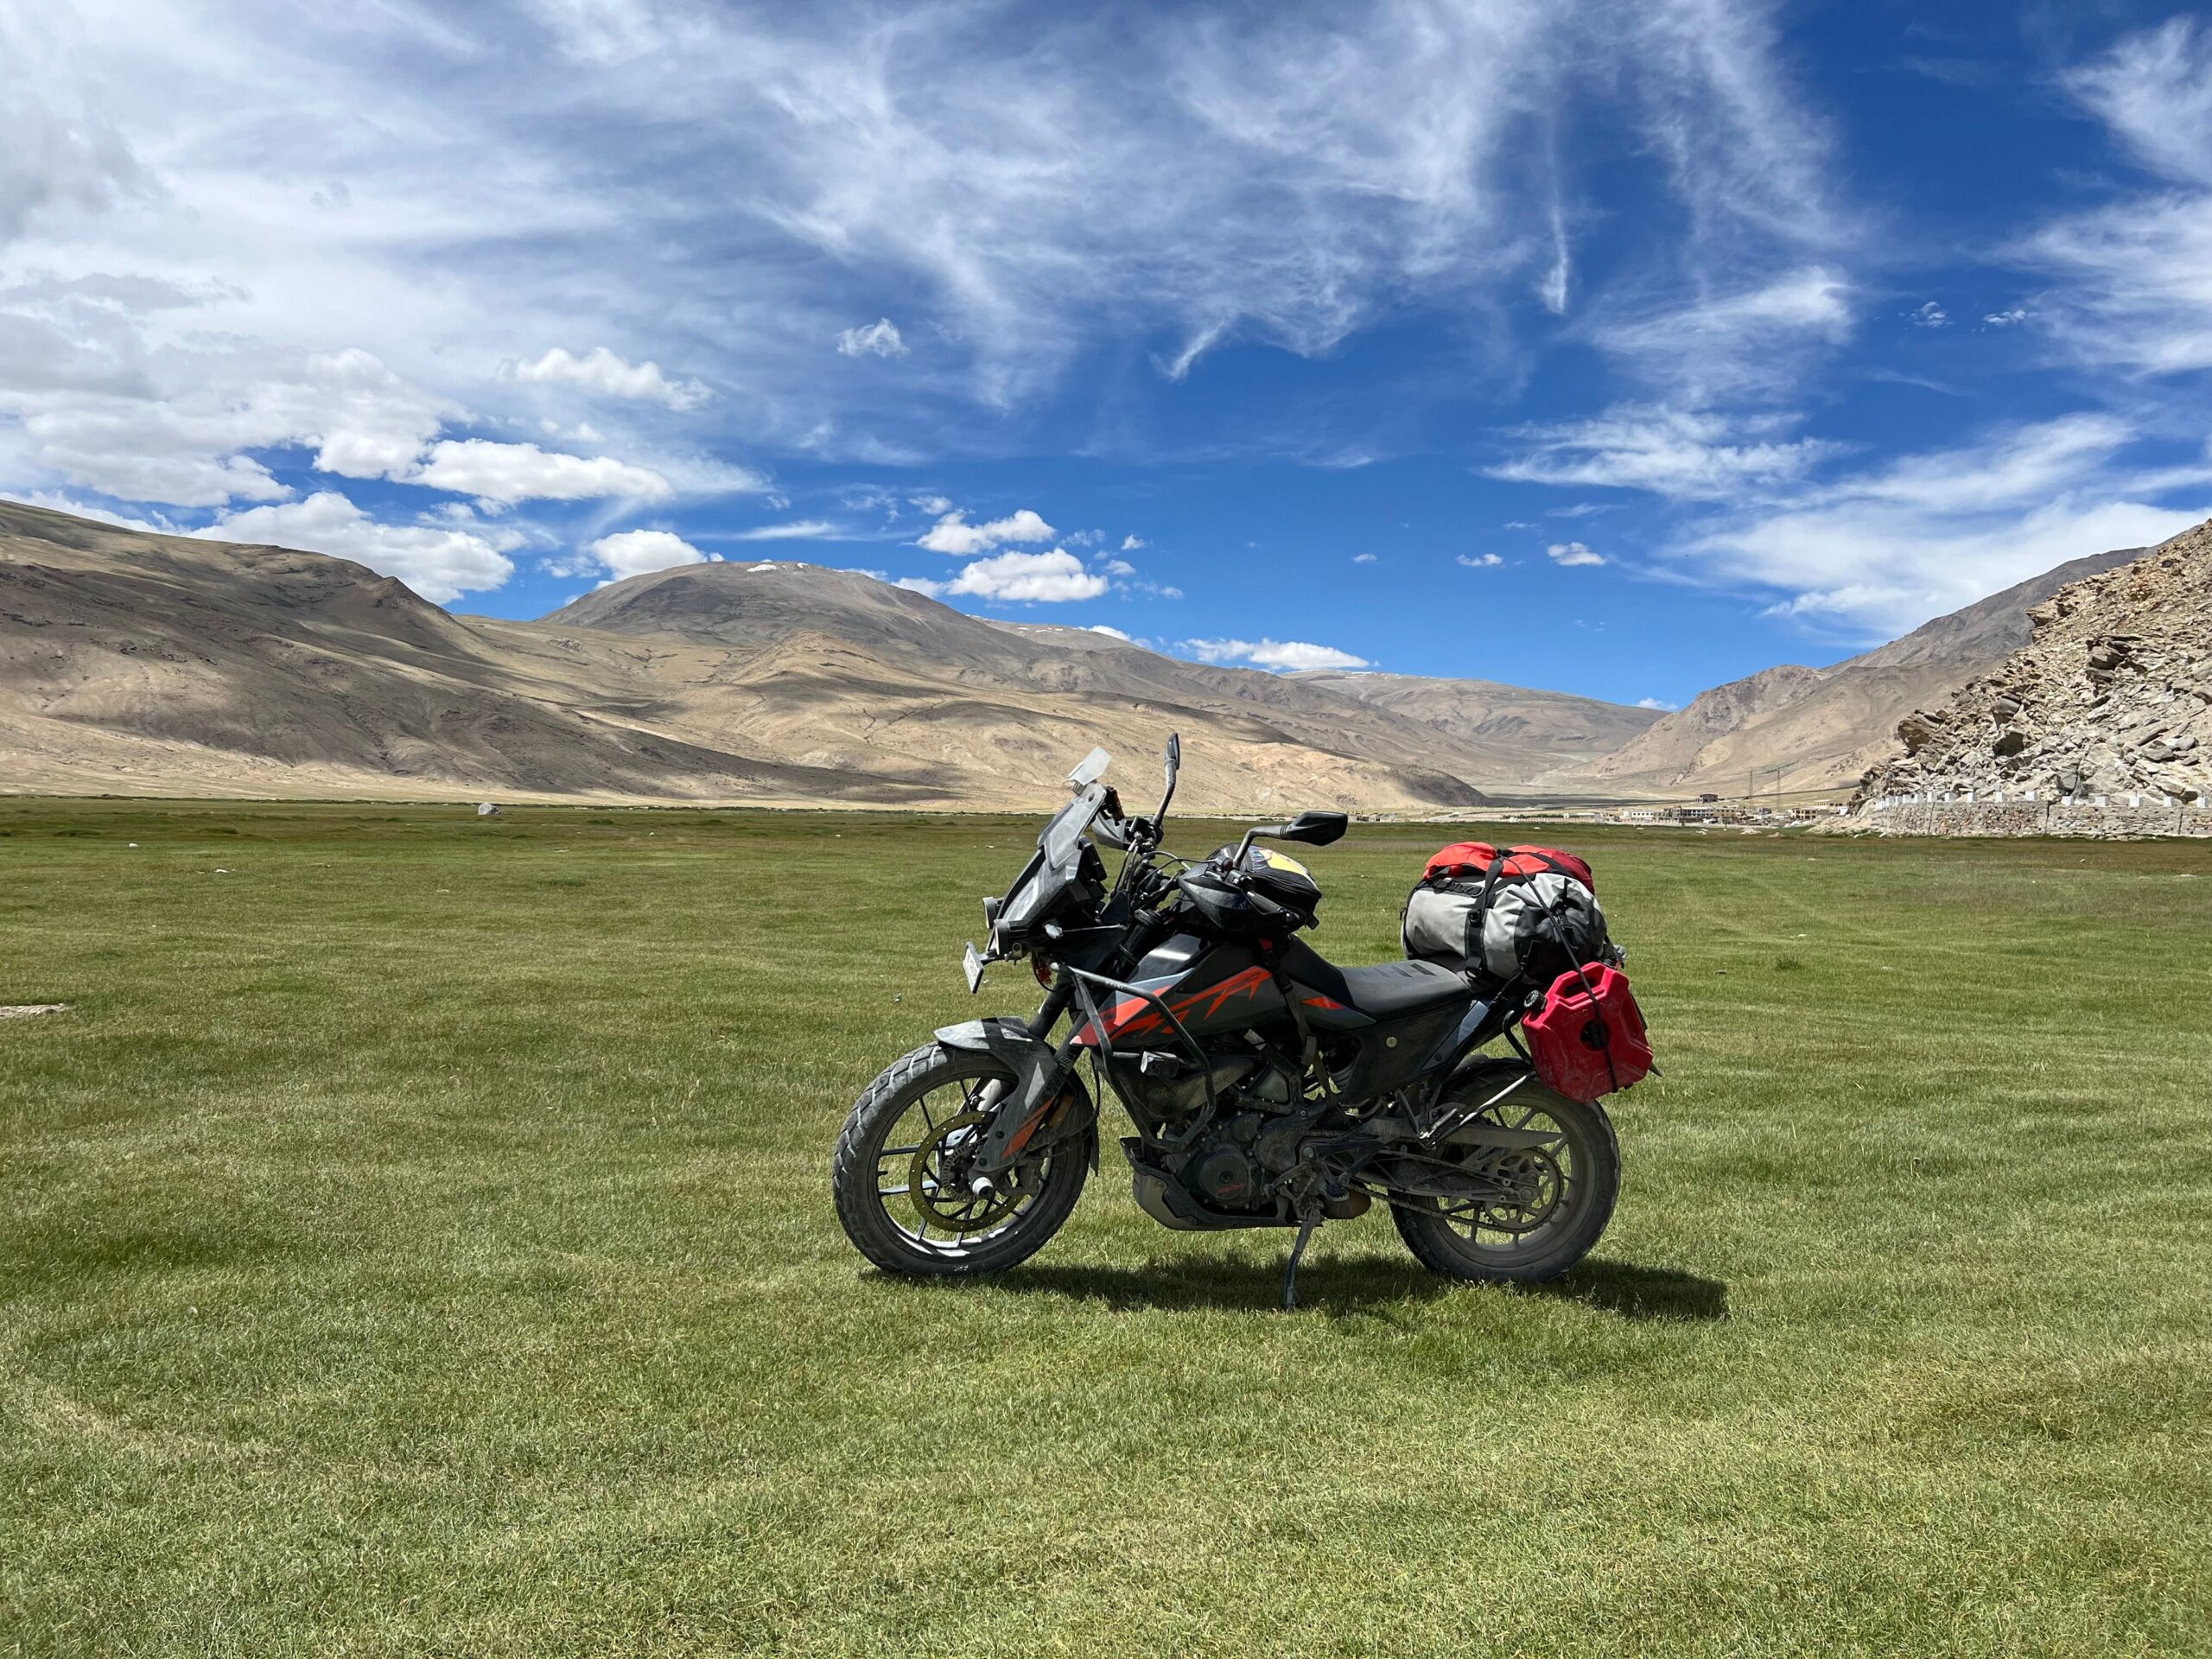
A cross-country motorcycle trip is easier to enjoy when the bike has already proved it can handle a full day with your luggage aboard. The goal is not to add every touring accessory or perform a midnight rebuild. It is to catch wear early, pack for the conditions, and leave enough slack in the schedule for weather, fuel stops, and fatigue.
Start with the service schedule, not a shopping list
Check your owner’s manual for maintenance due before or during the trip: oil, filters, brake fluid, coolant, spark plugs, and any model-specific service intervals. If the bike needs significant work, arrange it early enough to ride it afterward. The Motorcycle Safety Foundation’s motorcycle travel advice cautions against major upgrades or maintenance the night before a departure. That is sound advice: a repair that has not been road-tested is an unknown, not an improvement.
Fit any new luggage, seat, or motorcycle windshield well before the trip. A short local ride can reveal buffeting, loose mounts, pressure points, or luggage that shifts when the road gets rough.
Give the tires and drivetrain a close look
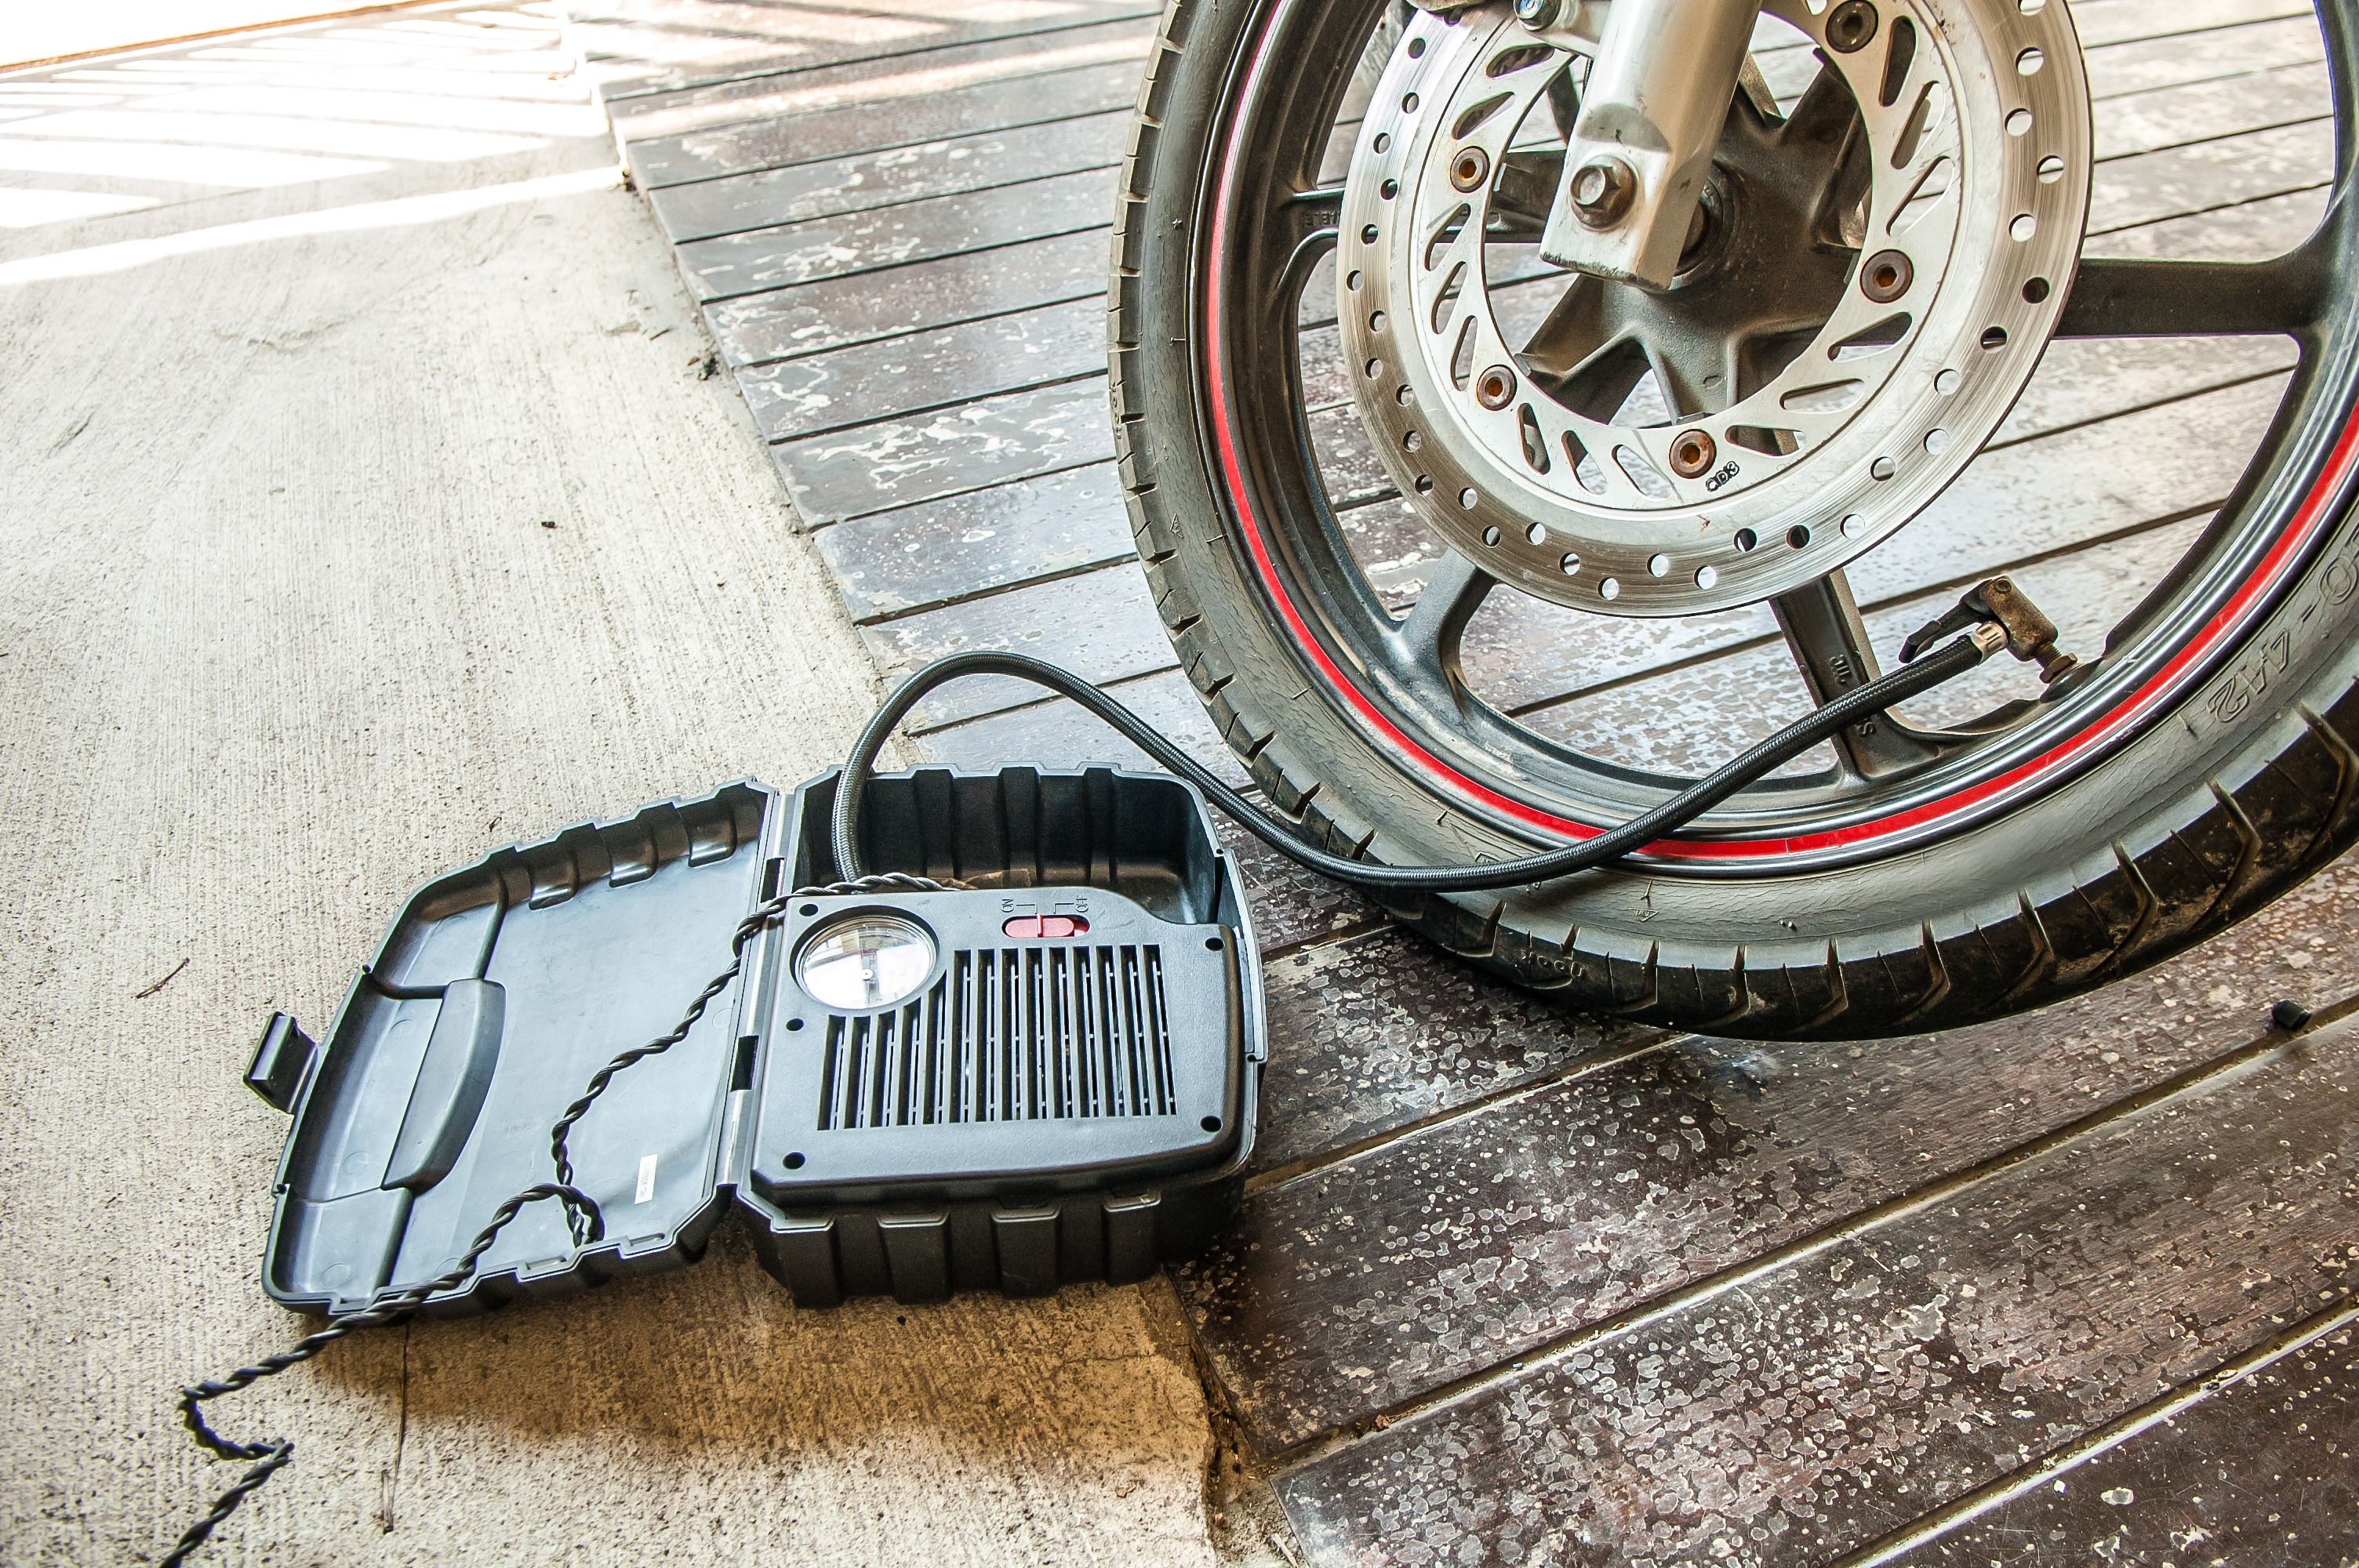
Check tire pressure with a reliable gauge when the tires are cold, using the motorcycle maker’s recommendation for your load. Don’t use the maximum pressure printed on the tire sidewall as your target. Inspect tread and sidewalls for uneven wear, cuts, cracks, bulges, or embedded debris; if the tires are near the wear limit, replace them before departure rather than hoping they last the route.
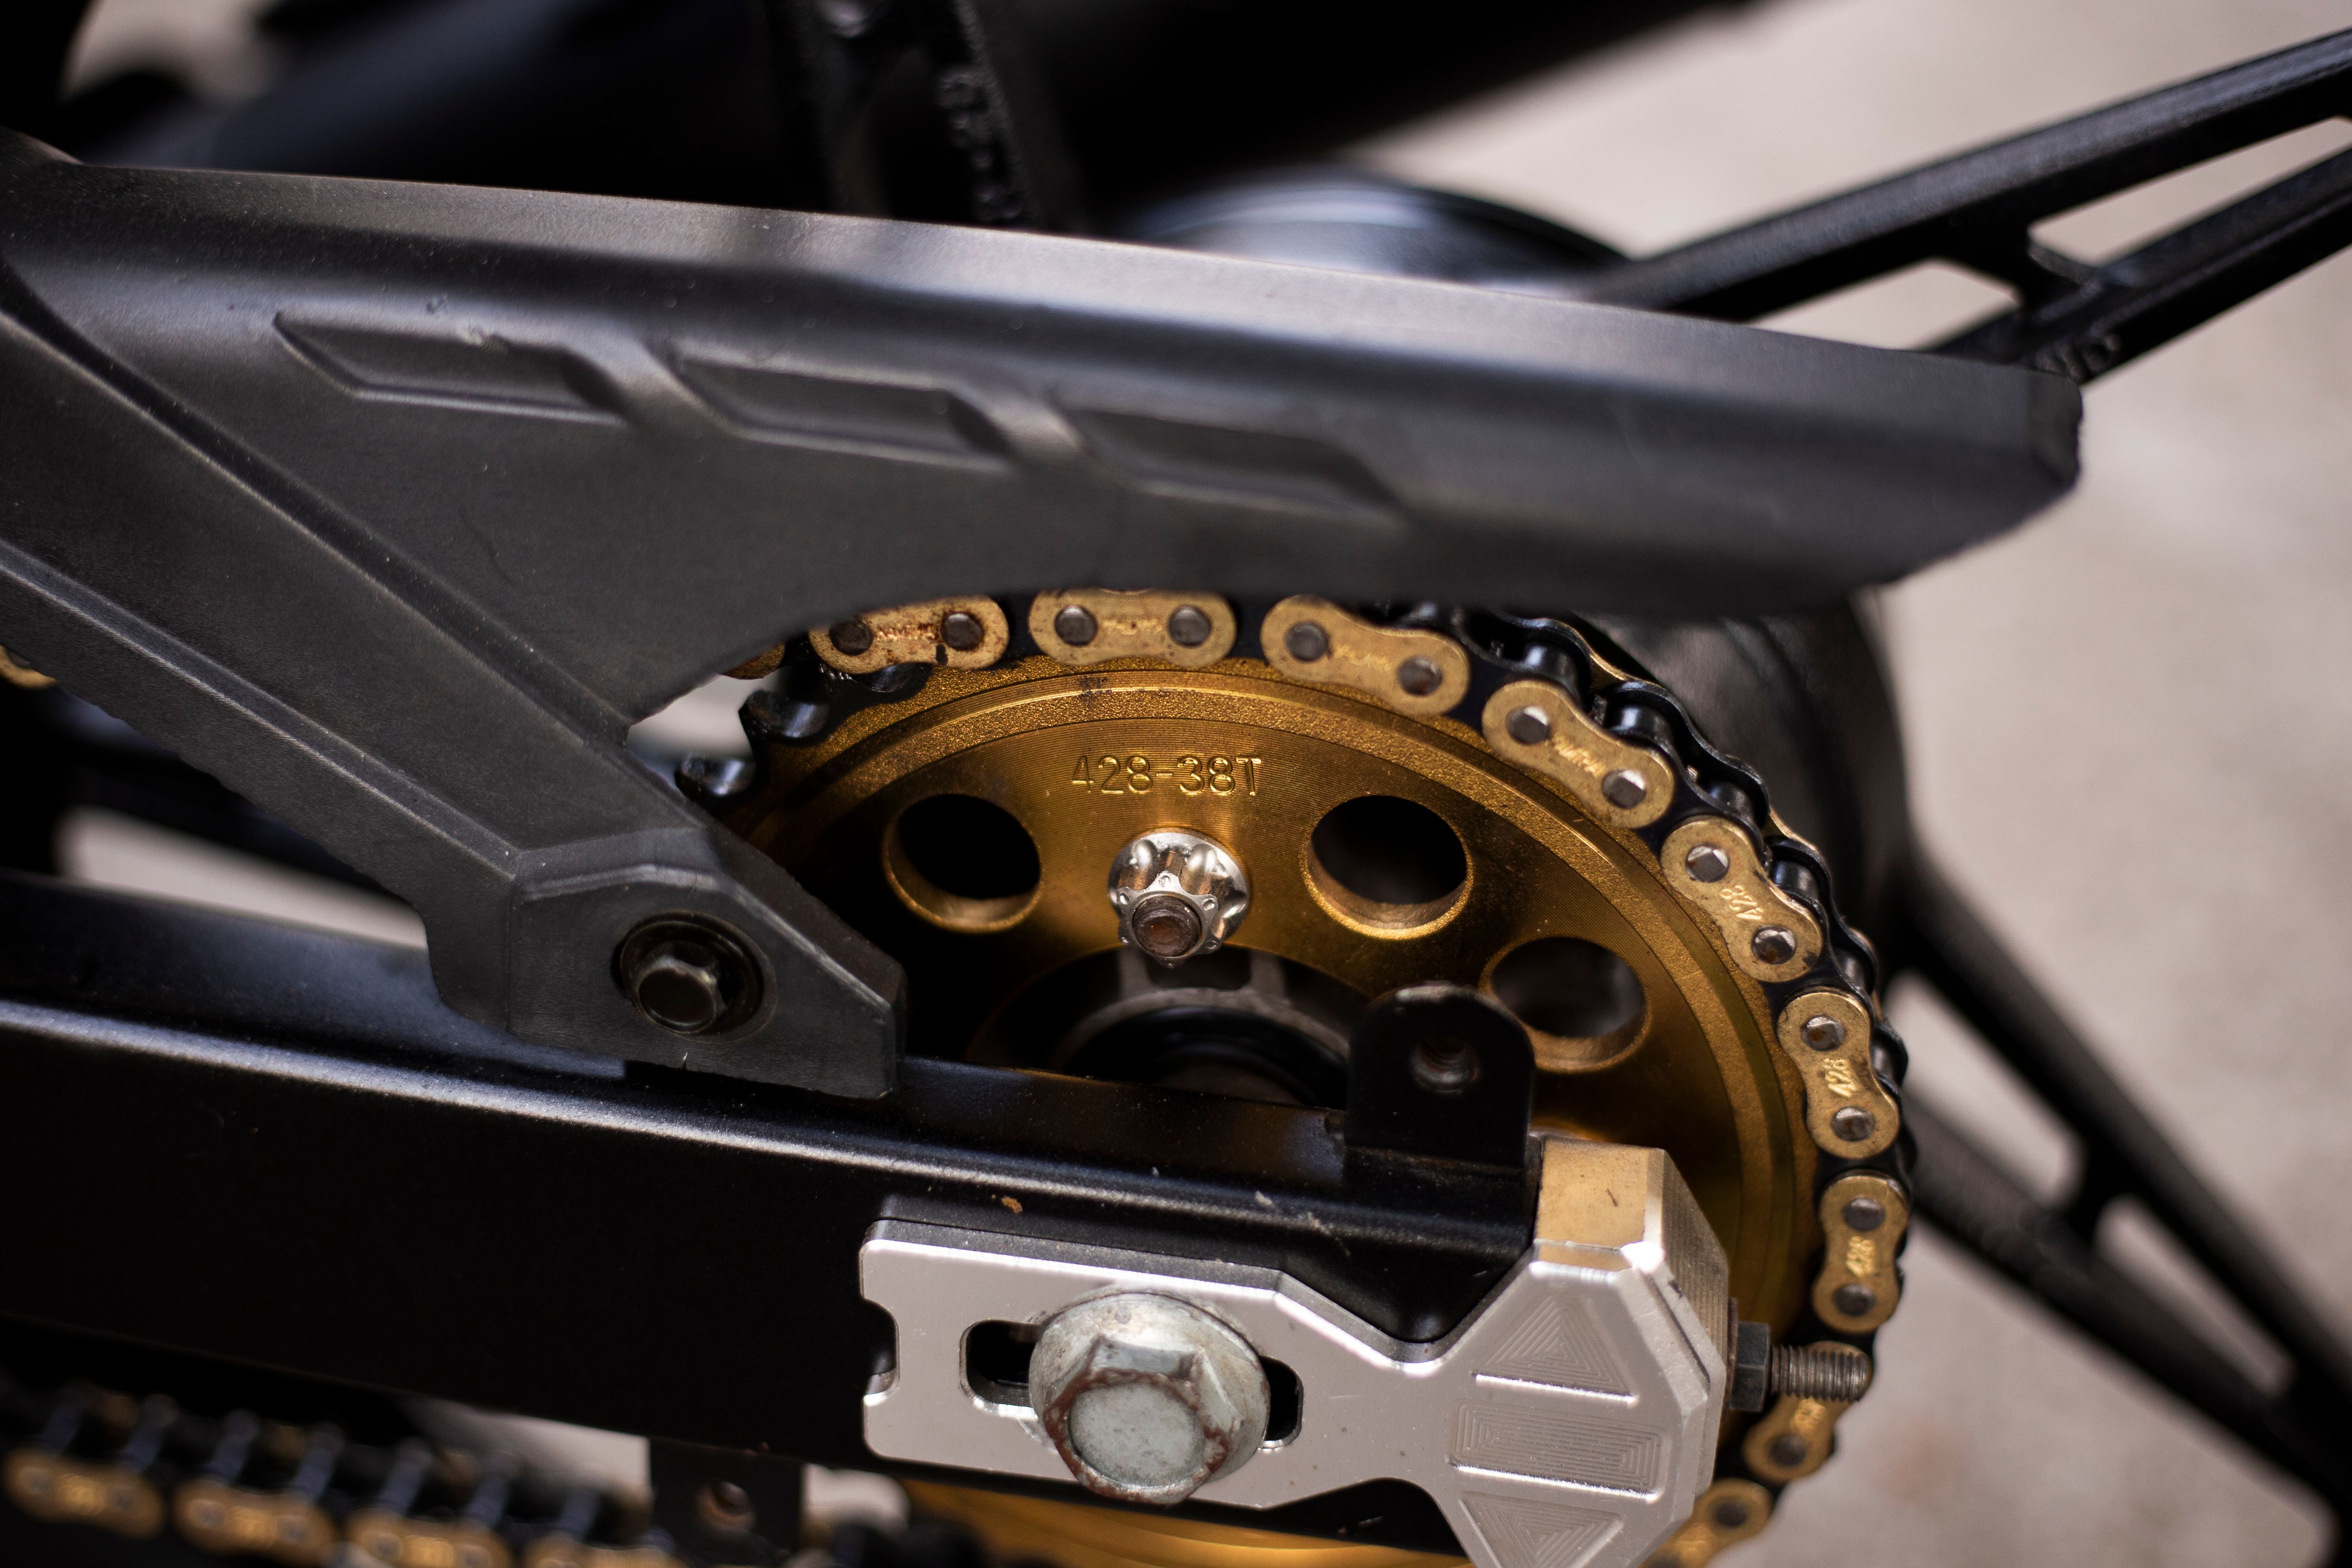
For a chain-driven bike, check slack at the tightest point and inspect for stiff or damaged links and hooked sprocket teeth. Clean and lubricate it as your manual specifies. Belt and shaft-drive bikes need their own checks, so follow the manufacturer’s procedure rather than applying chain advice by default. The MSF’s T-CLOCS inspection checklist covers tires and wheels, controls, lights, fluids, chassis, and stands.
Load the bike, then inspect it again
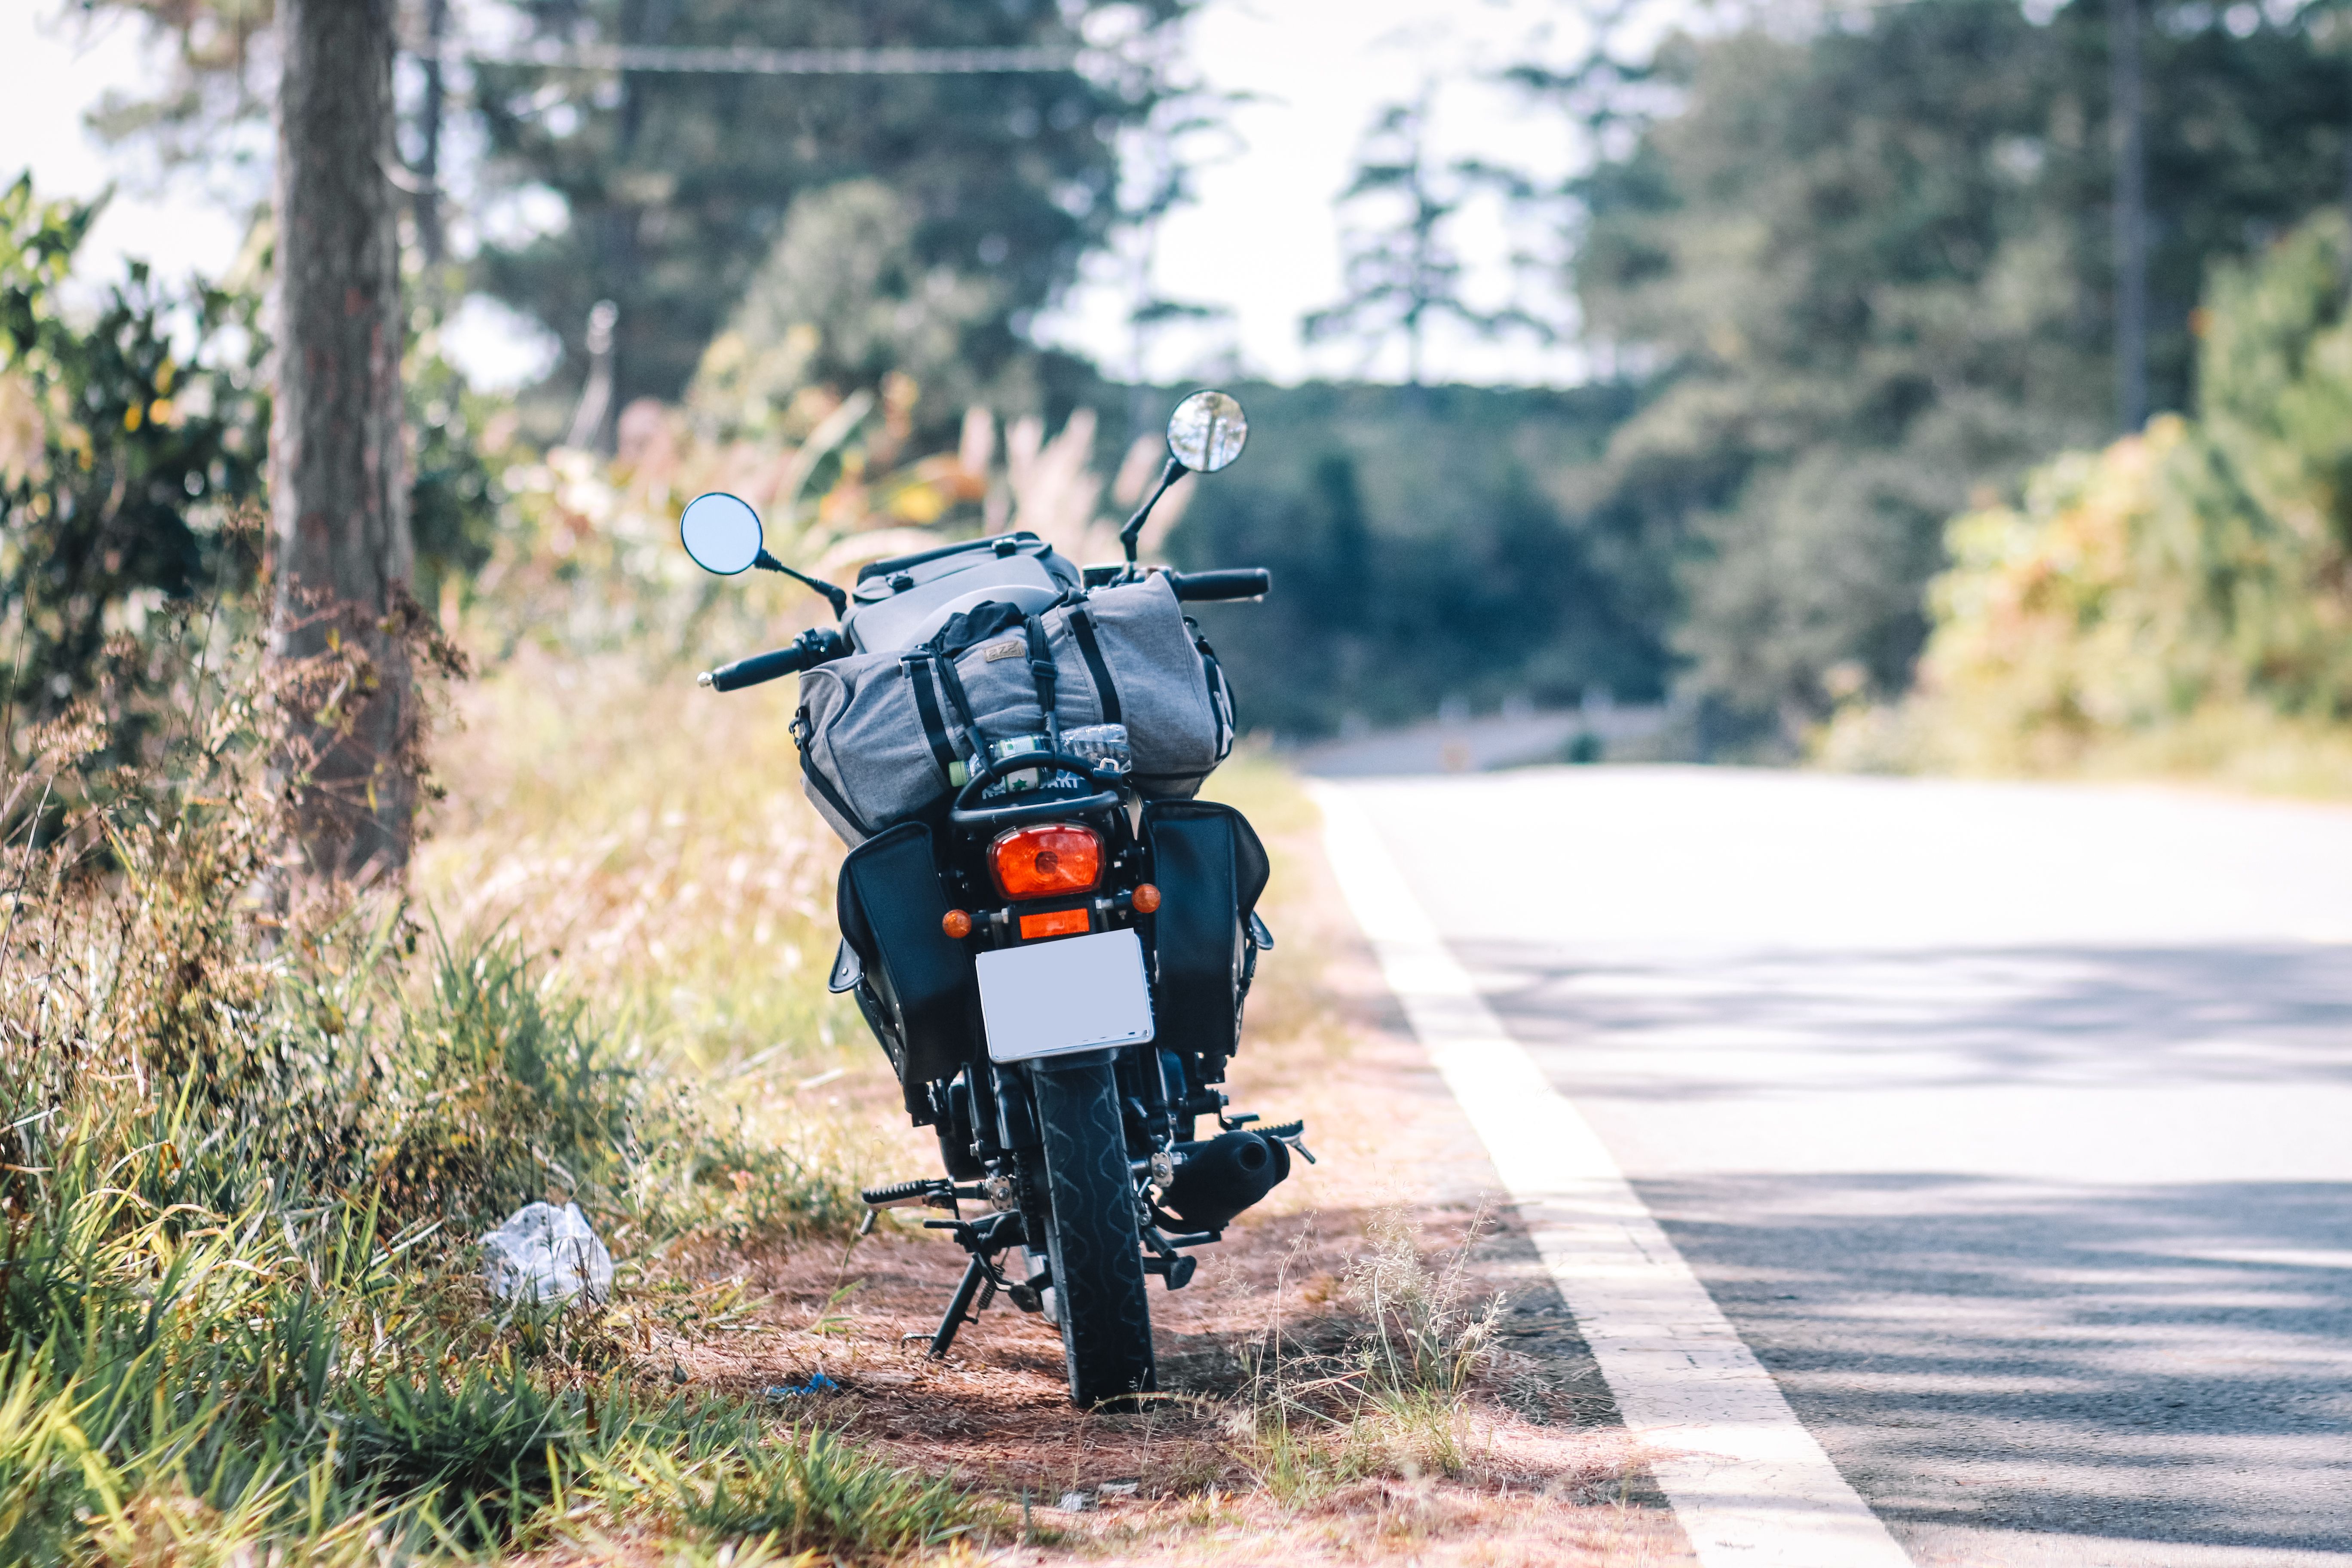
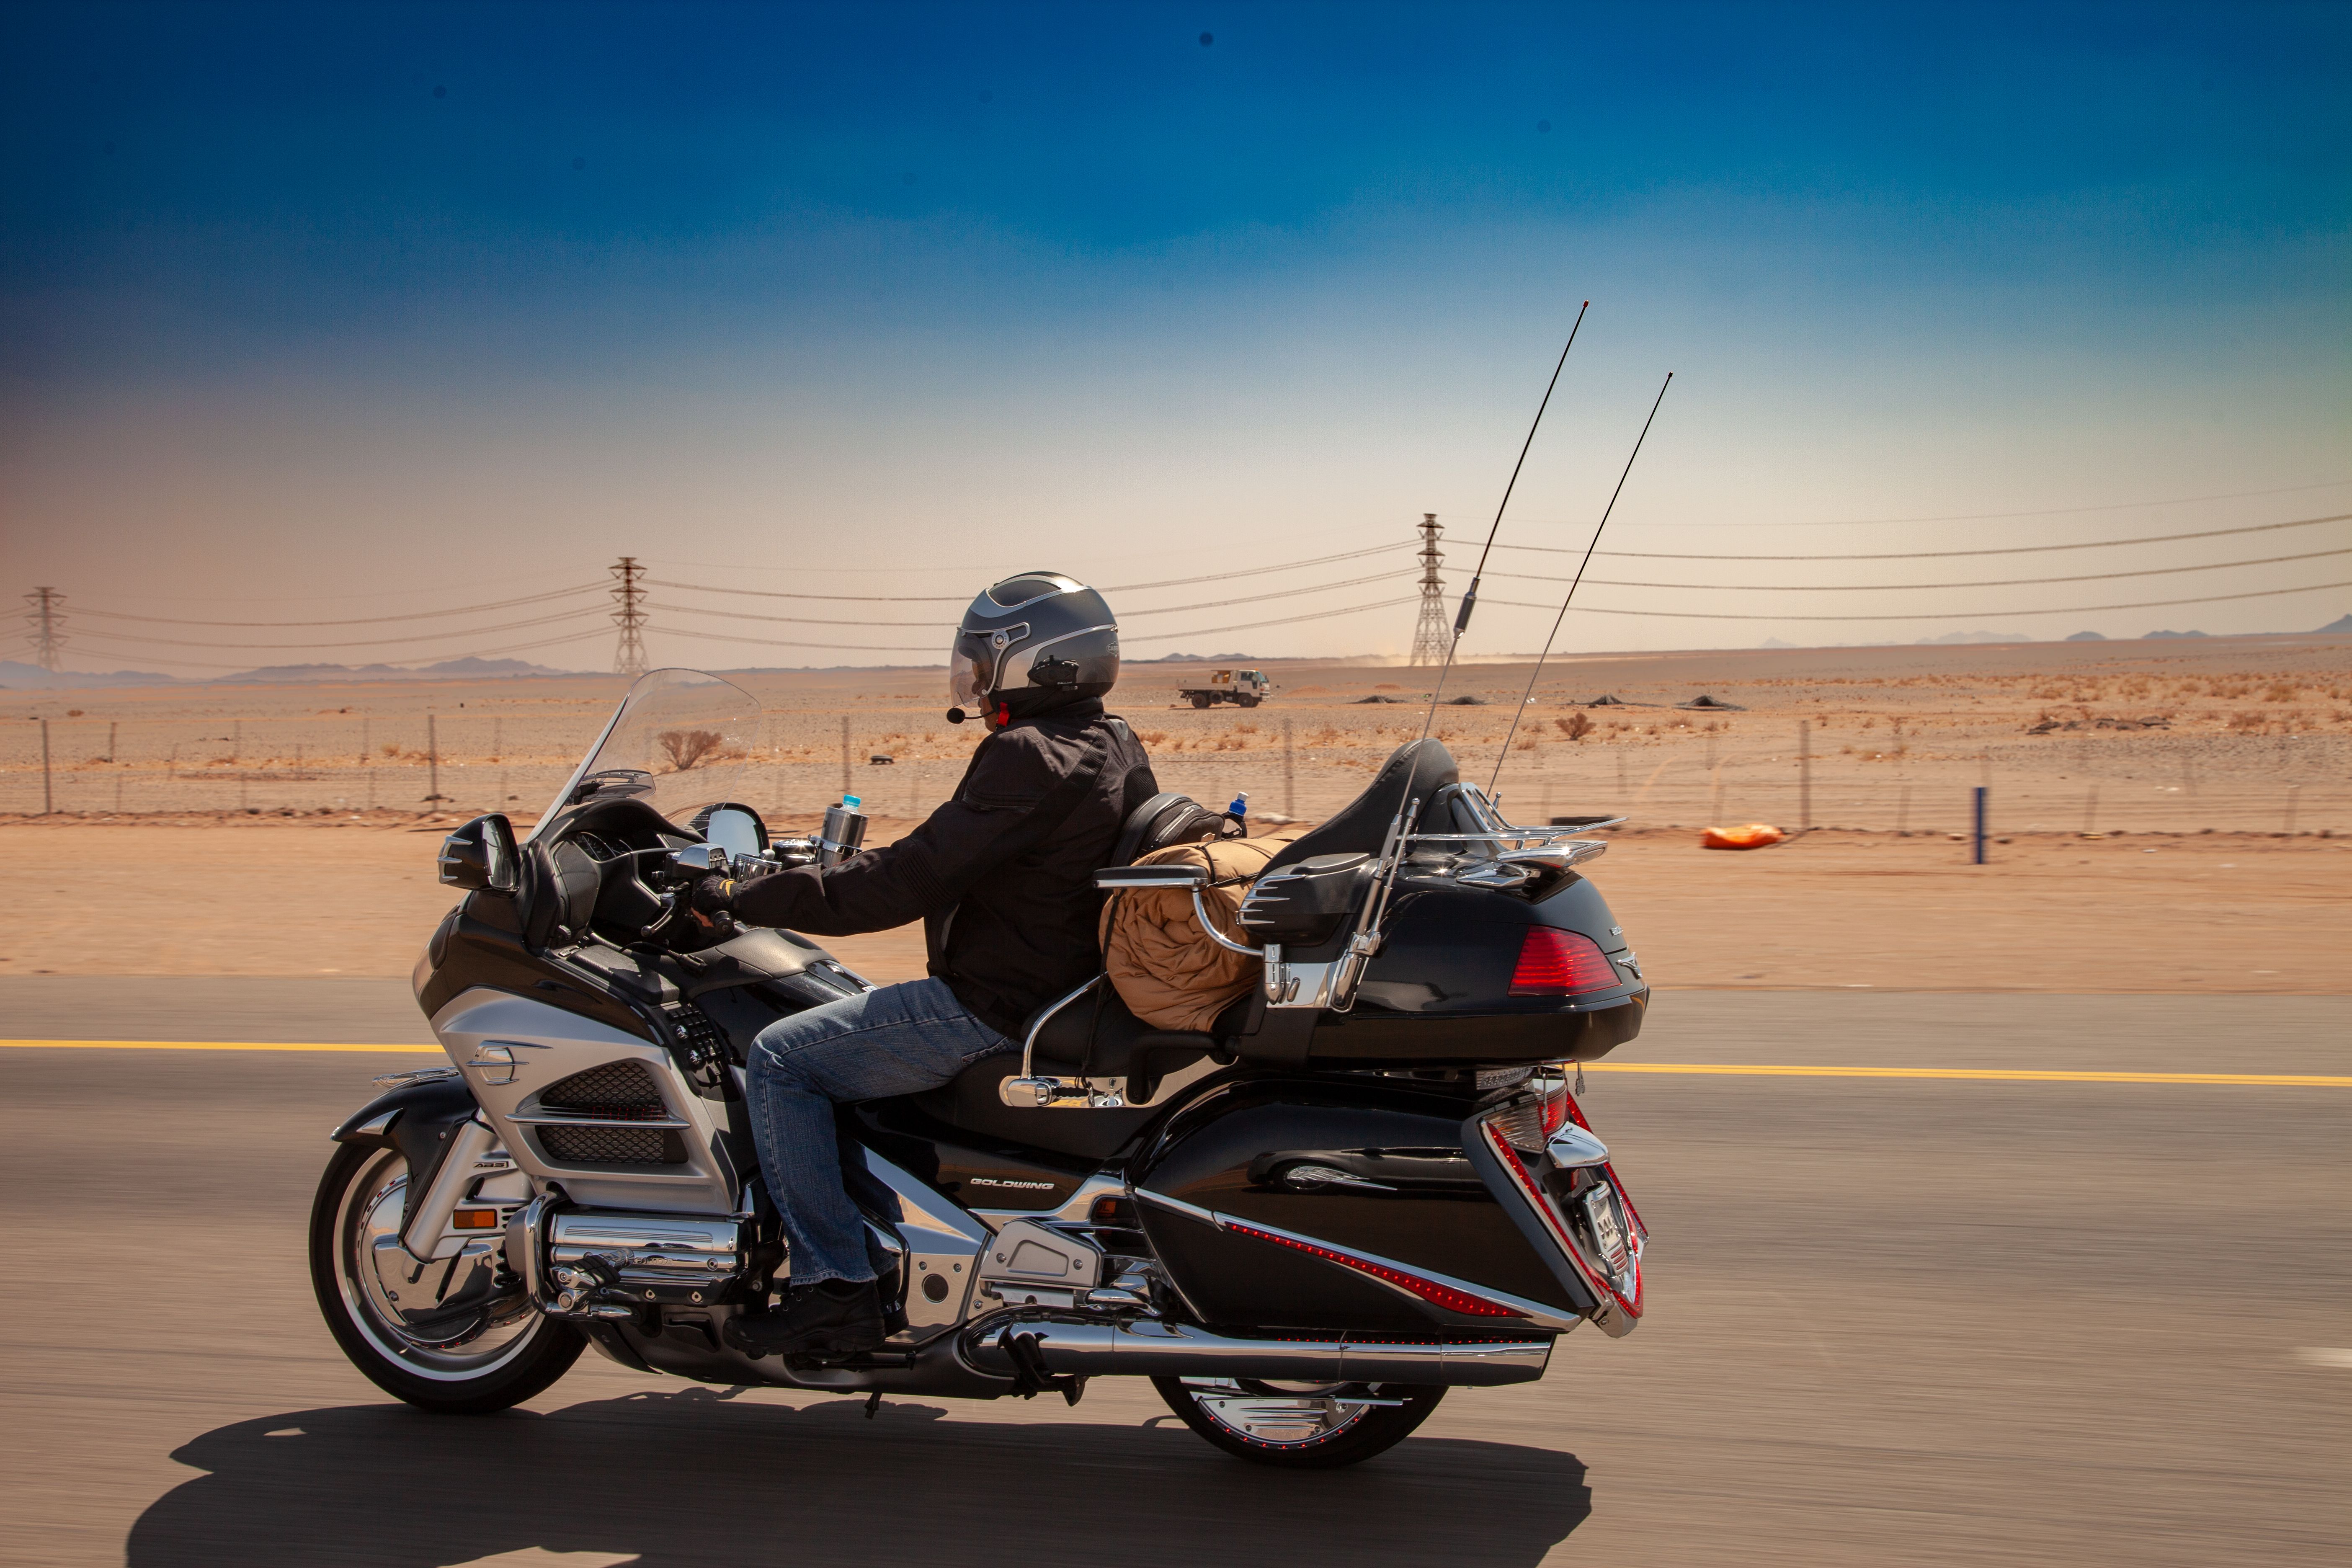
Pack what you intend to carry and secure it low, evenly, and within the bike’s load limits. Keep weight near or ahead of the rear axle where practical; a heavy load far behind it can affect steering and braking. Check that straps cannot reach the chain, tire, exhaust, or moving suspension, and turn the handlebars fully both ways to confirm bags do not foul controls or cables. Set suspension preload as the manual recommends for the added load.
Now ride the fully loaded bike around town before the trip. Braking, low-speed balance, and wind response can all feel different with luggage. Adjust the setup while you are close to home, not at the first mountain pass.
Use T-CLOCS before every departure
On the day before leaving, walk through T-CLOCS: tires and wheels; controls and cables; lights, signals, and mirrors; oil and other fluids; chassis and drivetrain; and stands. Test both brakes, make sure the throttle returns freely, look for leaks, and verify that brake lights work from both controls. NHTSA likewise advises checking tires, brakes, lights, signals, fluids, and beneath the motorcycle for leaks before riding.
Plan for the rider, not just the route
Map fuel options around your real range, especially across remote stretches, and save offline directions. Pack rain and insulating layers, water, a basic tool kit suited to your motorcycle, tire-repair supplies, a pressure gauge, charging cables, and copies of key documents. Keep daily distances flexible: the MSF operator manual notes that riding is tiring and recommends regular breaks. Wind, heat, rain, and unfamiliar roads can turn a planned mileage target into a poor decision.
A good departure test is simple: the motorcycle is serviced, the loaded setup has been ridden, and you can name your next fuel stop and a sensible place to stop for the day. If one of those is uncertain, fix the uncertainty before adding more miles.