
Are you looking to connect a Raycue USB C Hub to your MacBook Pro? You’re in luck, as this handy device makes the connection process easier than ever.
With the right tips and tricks, you can quickly and easily add extra ports and expand the potential of your laptop.
In this blog post we will go over how to connect a Raycue USB C Hub to your MacBook Pro and what benefits you could experience from doing so.
Whether you need more ports for charging devices or connecting to external displays, read on for all the details!
What You Need?

If you’re looking to connect a Raycue USB C Hub to your MacBook Pro, there are a few things you’ll need.
– First, you’ll need a Raycue USB C cable. You can find these cables online or at your local electronics store.
– Next, you’ll need a Raycue USB C adapter. Again, these can be found online or at your local electronics store.
– Finally, you’ll need to connect port on your MacBook Pro. This is typically located on the left side of the computer, near the MagSafe 2 power port.
Once you have all of the necessary components, simply connect the Raycue USB C cable to the adapter, and then plug the adapter into the C port on your MacBook Pro.
That’s it! You should now have a fully functioning Raycue USB C Hub on your computer.
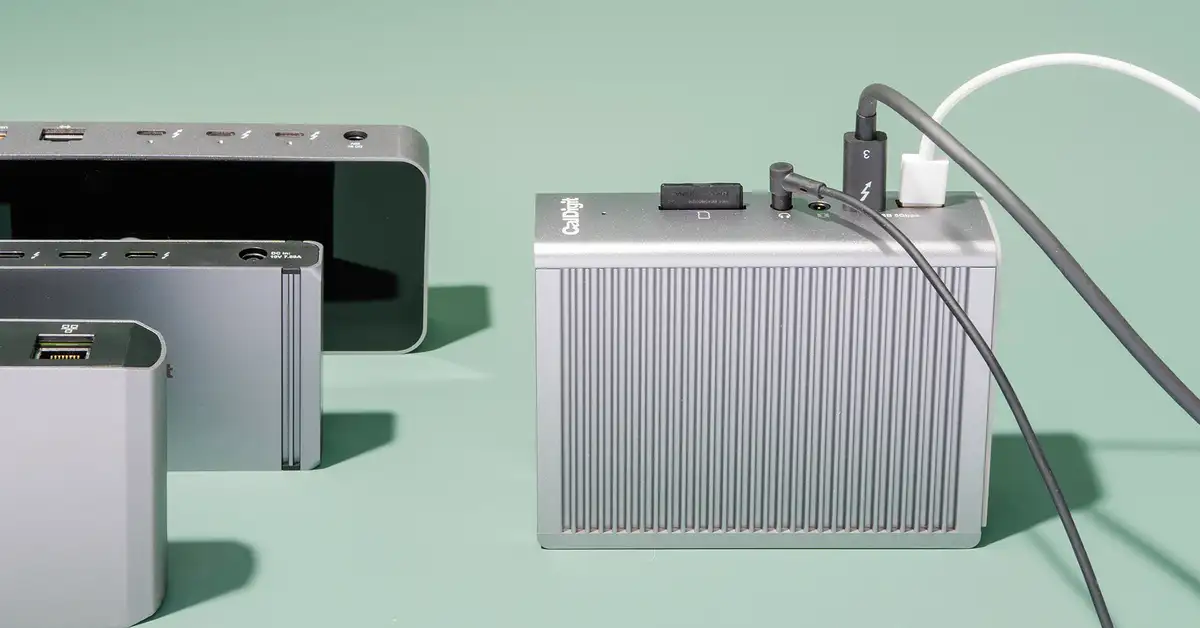
Connect the Hub

The Hub is a networking device used to connect multiple computers and other devices to each other, and to the internet. It is typically used as part of a home or business network.
It serves as a central point for all connected devices, allowing them to communicate with each other and with the internet.
The Hub receives and transmits data from one device to another or from one network to another. By connecting several computers and other devices together, they can easily share resources such as printers, scanners, hard drives, etc.
If you’re looking to connect a Raycue USB C Hub to your MacBook Pro, here’s what you need to do:
1. Plug the Raycue USB C Hub into your MacBook Pro’s USB-C port.
2. Connect your devices to the hub using either the USB-A or HDMI ports.
3. That’s it! You’re all set to take advantage of the Raycue USB C Hub’s expanded connectivity and faster data transfer speeds.
Conclusion
Connecting a Raycue USB C Hub to your MacBook Pro is a straightforward process that can be completed in minutes.
Taking the time to connect this piece of hardware will provide you with additional ports and capabilities, allowing you to get more out of your laptop.
With the right setup, even an older model MacBook Pro can be given new life for streaming media, gaming and other activities.
Thanks for reading and we hope this article has helped make connecting your Raycue USB C Hub easier!

