
Enamel pins have been around for quite some time. In the beginning, they were most commonly used by the military and police force in order to categorize them by ranks, however, later on, they have become an adornment for our jackets, clothes, backpacks, and basically anything that is suitable for pinning them.
Although a wide range of people think that the method of sketching and producing enamel pins is complicated, it actually takes six basic steps that you’ll need to go through. And, if you are interested in learning what those steps are, this article can help you. Let’s take a closer look at the list of steps you’ll need to go through:
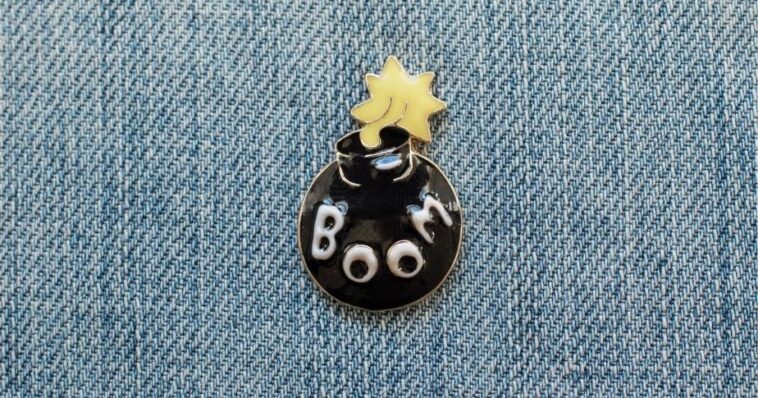
Step 01: The Artwork Needs to Be Properly Prepared

Before you can do anything else from this list, the first step you’ll need to take in preparing the artwork – which will also be the minimum requirement for any manufacturing company. You can choose to draw or sketch your idea on paper and then scan it in order to get a PDF file.
However, if you know how to use a graphic design program, you can also design your idea in the program and then send the manufacturing company the digital file. But, when designing, there are several things that you’ll want to remember to get the best possible artwork, including:
- It Should Be Simple – these pins are relatively small, hence, you’ll want to add fewer details to get a clearer image,
- Strong Colors And Lines – if you choose thinner lines and soft hues, it won’t stand out, hence, use bolder lines and strong hues,
- Avoid Shading – you’ll definitely want to avoid shading since it’ll take away the fine lines and colors from your pin.
Step 02: Opt For a Material
There are basically 2 options that you could choose from – hard and soft pins. By choosing hard enamel, you’ll gain a pin that has strong lines that will separate each of the hues perfectly and it will also be more enduring than the other choice. On the other hand, soft will provide you with more details and they’re often cheaper than the previous option, however, they won’t last as long.
Step 03: The Size

Once you are done with the two most important steps, you’ll want to opt for the size of the pin. If you want something smaller, you could opt for ones that are 0.75 to 1.25 inches, which will make them easier to wear, however, you won’t be able to have a lot of details because of the size.
Larger options that are 1.25 inches or more will allow you to have more details since you’ll have a large surface, however, by choosing a larger one, you’ll need to consider where you’ll pin it since they will be heavier. If you are on a tight budget, the smaller option might be suitable for you.
Step 04: Determine How Much You’ll Need

Now that you are done with choosing the art, material, and size, you’ll need to carefully think about how much you’ll want to manufacture. Almost all manufacturers require 100 units for the first order, hence, you might want to order 100 first before you opt for ordering more. If you want to make your own enamel pins at a low price, you can click here for more information.
Step 05: Decide How it Will Be Pinned to Clothes

A pin-back is a system that you can use for securing the pin to your clothes. However, there is one thing that you should know if you choose this option – always place to pin-backs on all of your products. Why you might be wondering? Well, if you only choose to place one, the heavier pins might move quite a lot, which increases the chances of someone losing it.
Hence, when you are deciding on the mechanism that will secure it to different surfaces, ensure that it is high-quality and durable, especially since there is nothing worse than losing one of your favorite pins. Additionally, people might not like losing pins all the time, which might cause them to stop purchasing them from you.
Step 06: Opt For a Manufacturer

Last on our list, but not least important is finding a manufacturing company that will turn your pin idea into a reality. Now, before you choose the first company that comes up on your search result page, there are a few things that you might want to consider first, including:
- The Expenses – different companies have different costs, which is why you’ll want to check how much does a specific business charge for manufacturing 100 units – which is the minimum requirement. Hence, open up a few websites and then start comparing the prices and services they offer.
- How Long Will it Take? – Next, you’ll have to check how long will you have to wait to receive your pin. Some companies do not need more than 2 weeks to 4 weeks, while others might need much longer. So, once they approve your artwork, you need to ask them how long it’ll take for the shipment to be ready.
- Ask For a Photo – when you select the company you feel comfortable with working, you might want to ask for a picture before they deliver your pins to you. Why? Well, you’ll be able to ensure that you are getting exactly what you wanted, and if not, you might need to talk to the company in order to determine what you can do.
Conclusion
As you can see, there are some things that you’ll need to consider and do before designing and manufacturing your enamel pins. And, by going through all of the aforementioned steps, you’ll make the entire process easier, less time-consuming, as well as less stressful for everyone involved.
So, now that you learned what steps you’ll need to take in order to get your enamel pins, you might not want to lose any more of your time. Instead, you should go back to the beginning of this article, and start with the first step which is preparing your artwork and choosing the materials.

