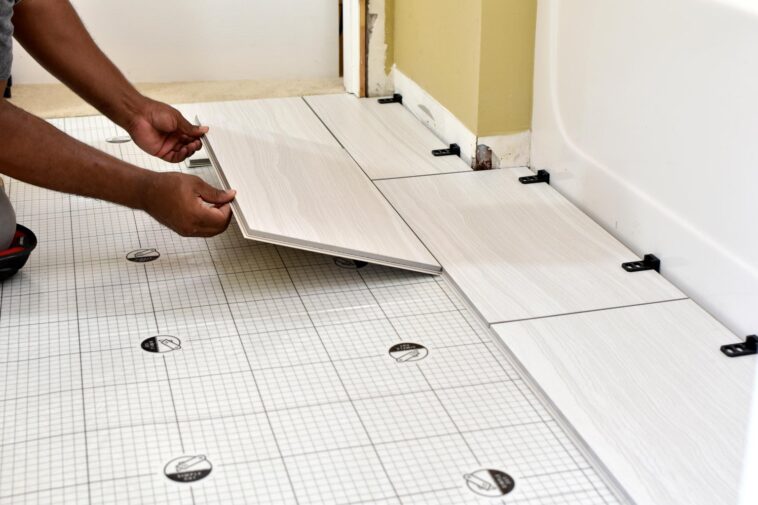
When it comes to home improvement, tiling your bathroom might seem like a straightforward weekend project. However, anyone who’s actually attempted DIY bathroom tiles knows that there’s a fine line between a refreshingly modern “after” and a disastrous “before”.
From choosing the wrong materials to bad prep work, the devil is indeed in the details. This blog post dives into the most common (and spectacular) ways to mess up laying your bathroom tiles, and of course, how to avoid these pitfalls.
Choosing the Wrong Tiles
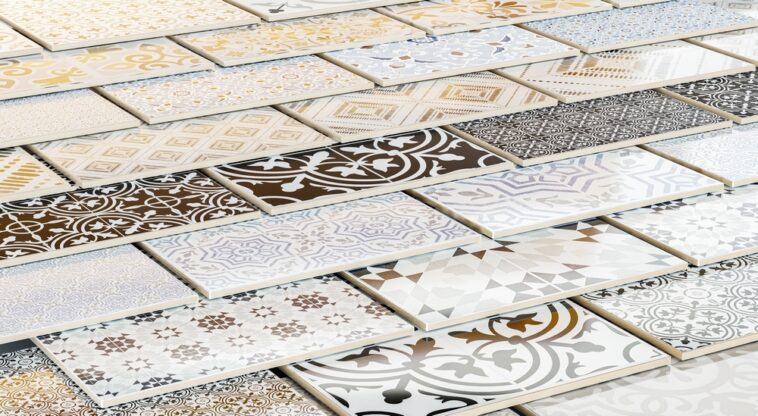
Choosing reclaimed tiles based on looks alone is one of the quickest ways to regret your decisions. While that glossy, charcoal-black tile might look chic in the showroom, it could be a nightmare in terms of maintenance and suitability.
Glossy tiles can be slippery when wet, a serious consideration for a bathroom. Additionally, dark tiles can show every speck of limescale and soap scum, demanding constant cleaning.
The porosity rate, which measures the ratio of air holes to solids in a tile, affects how much water it can absorb. For bathrooms, non-vitreous tiles (high water absorption) are a terrible choice, as they can lead to moisture damage and mold growth.
Always opt for vitreous or impervious tiles, which are designed to withstand humid environments.
Inadequate Surface Preparation

Bathroom tiles need a completely waterproof base, otherwise, water seeps through, causing structural damage and mold. Applying a waterproofing membrane before tiling is crucial.
This step is frequently skipped by DIY enthusiasts eager to see their new tiles up, leading to water damage that requires a complete redo of the work.
Applying them to an uneven surface is a recipe for disaster. Not only will it make your tiling look unprofessional, but it also increases the risk of cracking.
They need a flat surface for proper adhesion; any dips or bumps can cause them to sit at different heights, leading to uneven wear and potential hazards.
Incorrect Tools and Materials
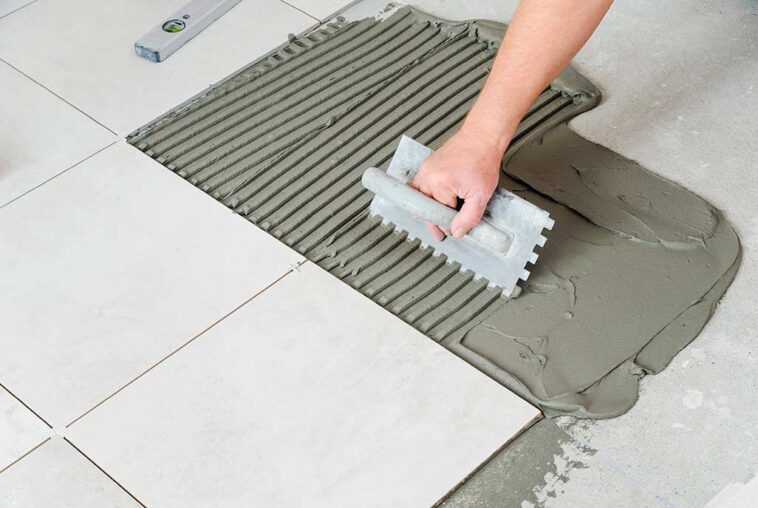
Choosing the right adhesive is just as important as picking the right tiles. Using a subpar adhesive or one that’s not suited to the environment (like using a non-moisture-resistant glue in a damp bathroom) can cause them to shift or fall off entirely over time.
It’s essential to use a high-quality adhesive that matches the type and the room’s conditions.
Trying to save money by using low-quality tools can affect the installation’s quality. A proper cutter ensures clean cuts; using a cheap one can lead to jagged edges that make fitting them together neatly a challenge.
Additionally, using a manual instead of an electric cutter can make the job unnecessarily difficult and time-consuming.
Misguided Execution
One of the most visible signs of a DIY job gone wrong is inconsistent spacing between tiles. This not only affects the overall aesthetics but can also impact the integrity of the sealant. Uniform gaps are crucial for evenly applying the grout, which in turn helps to waterproof the tiling.
Using spacers is a simple yet often neglected step that can make a significant difference in the final look.
Many DIY tiling disasters stem from simply rushing through the project. Tiling is a meticulous task that requires patience, especially when it comes to letting the adhesive dry completely before moving onto grouting.
Hurrying through these steps can lead to tiles not being properly set, which might later shift or pop up.
Concluding Tips
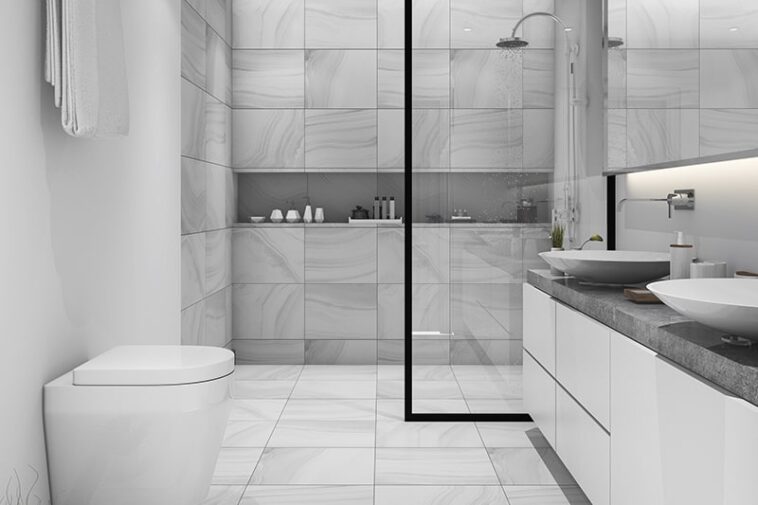
Every DIY project offers a wealth of learning opportunities. Even if you do end up with less than perfect results, each mistake provides valuable insights into what to do differently next time. Researching thoroughly and taking the time to prepare can turn a potential disaster into a DIY success story.
Never hesitate to consult with a professional before starting your tiling project. Getting tips from someone with experience can help steer you away from common pitfalls and towards a smoother process and more polished finish.
Overlooking the Details
One common error in bathroom tiling projects is not purchasing enough tiles. This mistake can lead to significant discrepancies in dye lots (if you need to buy extra tiles later) and can halt the project mid-way. It’s crucial to measure your space accurately and buy at least 10% more tiles than you think you’ll need to account for cuts and breakages.
They aren’t just laid down haphazardly—they need to be oriented correctly to maximize both aesthetic and functional benefits. For instance, laying tiles in a pattern that does not align with the room’s dimensions can make the space look cramped and uneven.
It’s vital to plan your layout before you begin, considering the visual impact and their direction.
Finishing Flaws
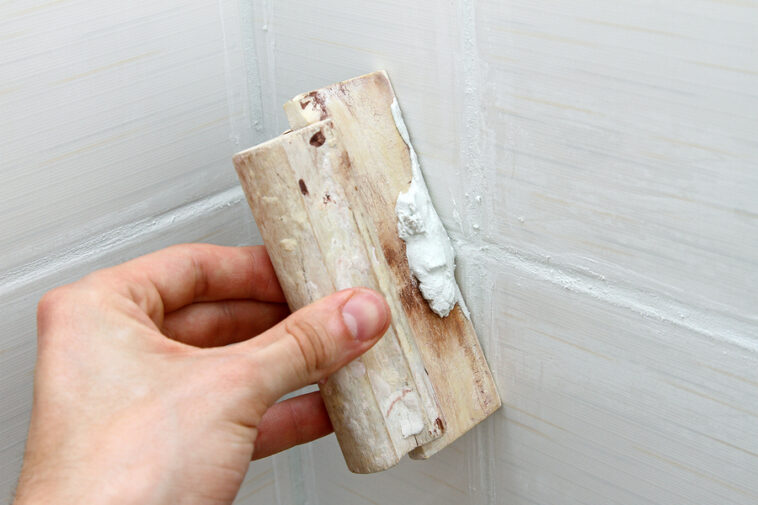
Grouting might seem like one of the simpler tasks in tiling, but it’s also easy to get wrong. Using the wrong type of grout can lead to staining, crumbling, and water ingress. Moreover, rushing grout application or failing to mix it properly can result in an uneven color and texture, detracting from the look of your new tiles.
Take the time to select the right grout for your type and bathroom conditions, and mix it according to the manufacturer’s instructions.
The final step in a tiling project—sealing the grout—is often overlooked. Sealing is essential to prevent moisture from penetrating the grout, which can lead to mold growth and deterioration over time. Ensure that the grout is completely dry before applying a sealant, and choose a sealant appropriate for the moisture levels and type of grout used.
Unforeseen Complications
Many DIY tilers fail to consider the placement of fixtures and fittings, such as toilets, sinks, and showers. This oversight can lead to awkward cuts in them around these elements, which not only looks unprofessional but can also compromise the waterproofing if not sealed correctly. Always plan the tile layout with these fixtures in mind, ideally before you start tiling.
Tiling a bathroom is not just about sticking tiles on a wall or floor. It involves detailed preparation, precise execution, and finishing touches like sealing and caulking.
Underestimating the time, effort, and skills needed can lead to a rushed job or unfinished project. Be realistic about your skills and the time commitment required, and consider splitting the project into manageable stages.
Conclusion
Tiling your bathroom yourself can be immensely rewarding, not just for the money saved but also for the satisfaction of completing the job yourself. By avoiding these common errors, your DIY bathroom tiles will look nothing short of spectacular—successfully.
For a touch of luxury, consider incorporating modern bathroom design ideas that enhance both aesthetics and functionality, elevating your home’s ambiance.


